Create New Tenant
For creating new tenants, navigate to the URL:
https://[FQDN]/admin
- Replace [FQDN] with your IDHub URL.
- Please click here for detailed instructions on how to configure FQDN.
Procure Tenant Management Admin Password
In the tenant management login page, you will asked to enter the tenant management admin password. Run the following kubectl command to get the tenant management password:
kubectl get secret tenant-admin-user-password -o jsonpath="{.data.password}" -n <IDHUB_INSTANCE> | base64 --decode
<IDHUB_INSTANCE>: Namespace of IDHub.
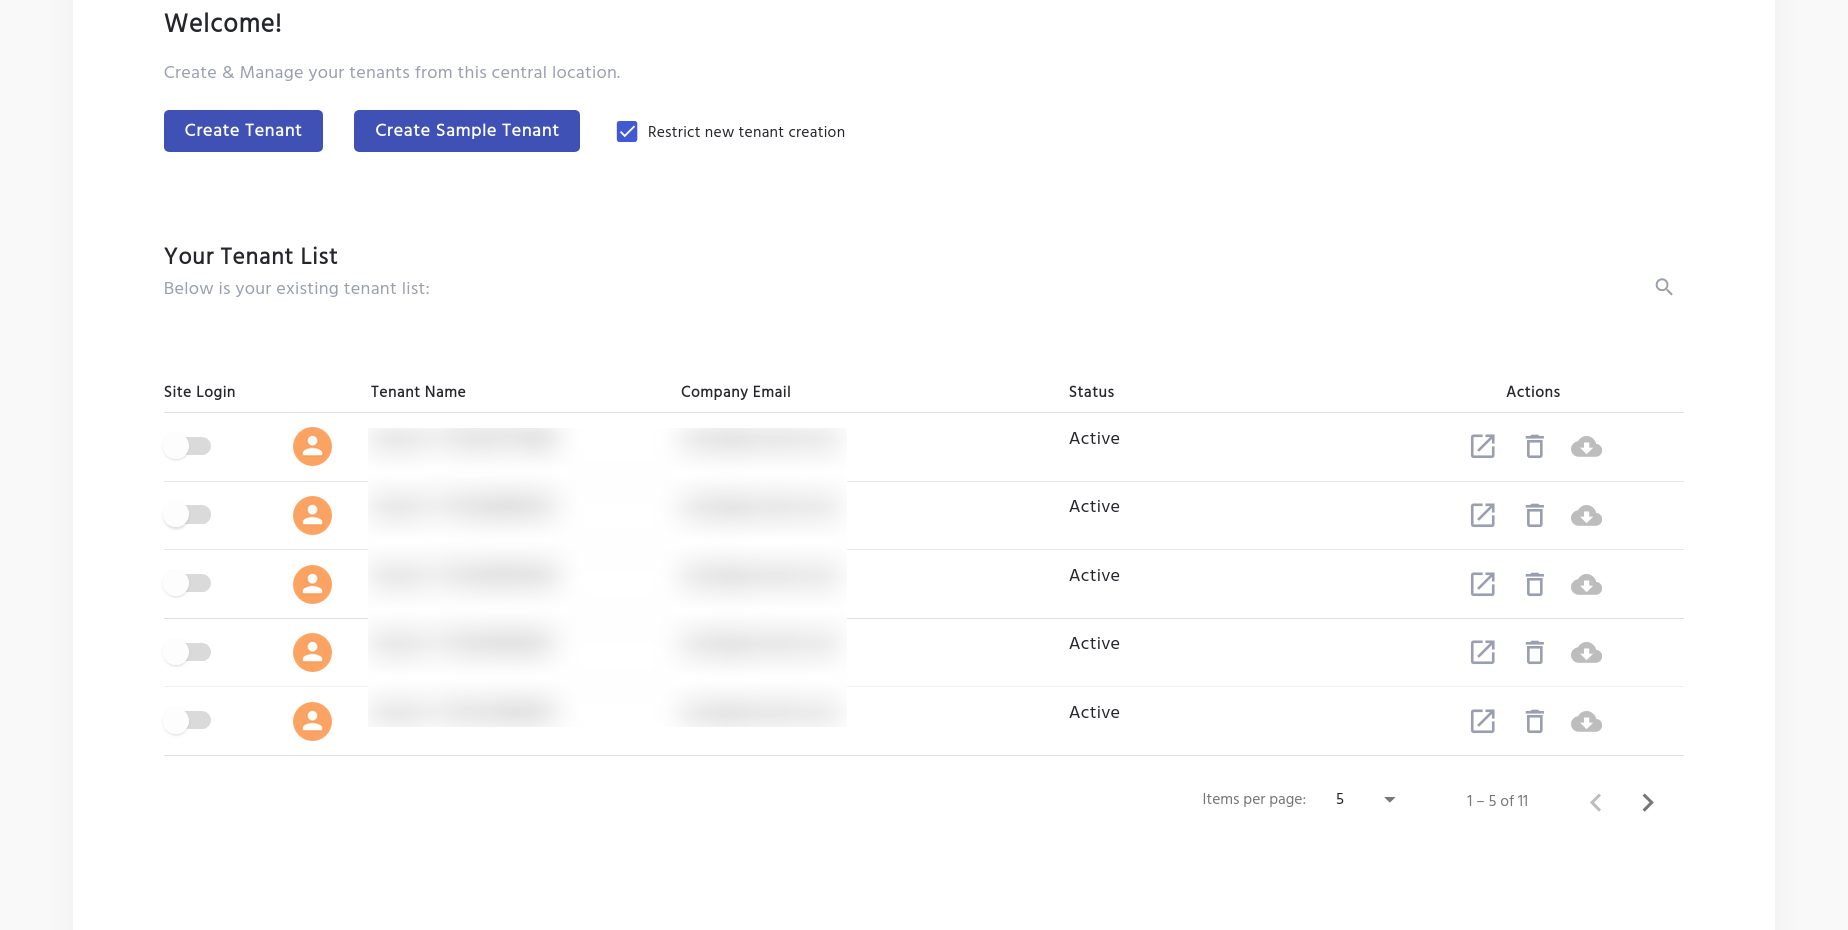
IDHub Tenant Management Page
After login,you will be shown the Tenant Management portal as you can see below. Click on the Create Tenant button to create your tenant.
Register Account in IDHub
Enter relevant information in the account registration form as shown in the screenshot below:

- The username and password entered here will be used to login to your IDHub Tenant. This should be written down and remembered.
License Activation and Validation
If you have already purchased an IDHub Subscription, you will get the license key in your email which you can enter to activate the license.
Click Here to purchase your IDHub Subscription.
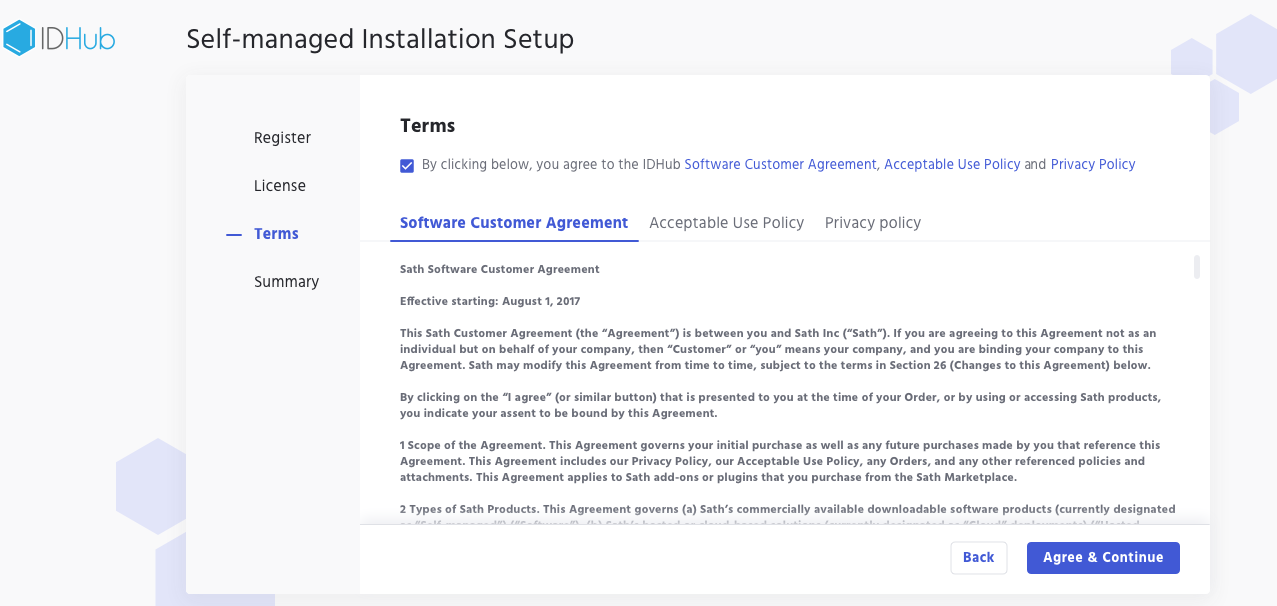
Terms and Conditions
The Final Step is click on the checkbox and accept the IDHub Software Customer Agreement, Acceptable Use Policy and Privacy Policy.
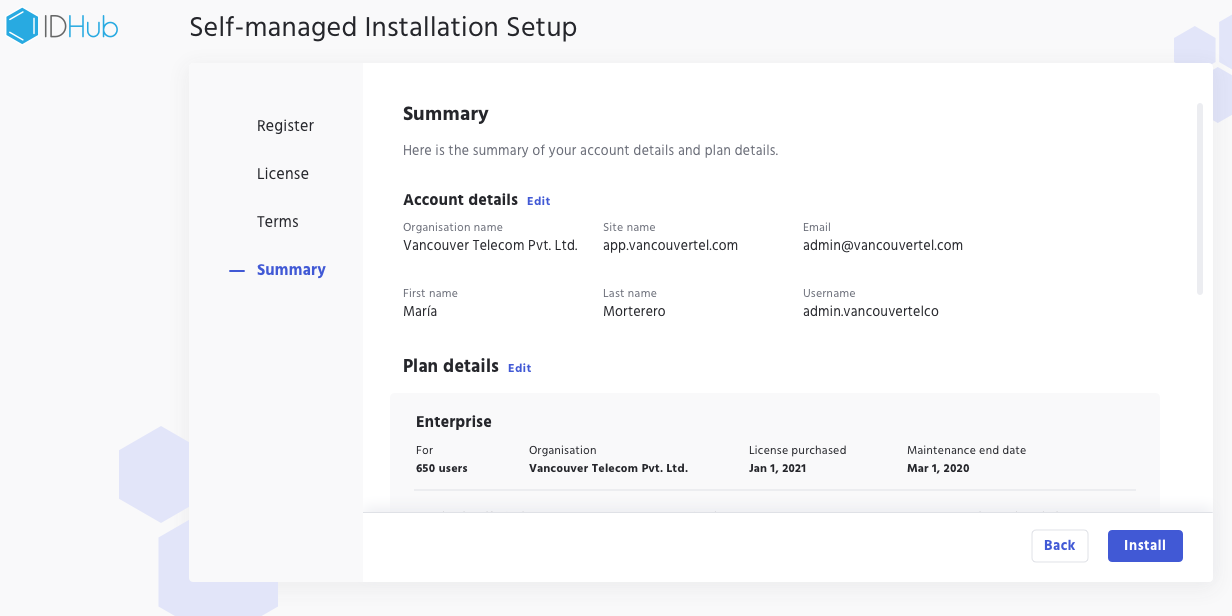
Review Summary and Login
Finally, review the summary of your account and create the tenant. As you can see in the screenshot below click on the Install button located at the bottom of the page to create the tenant.
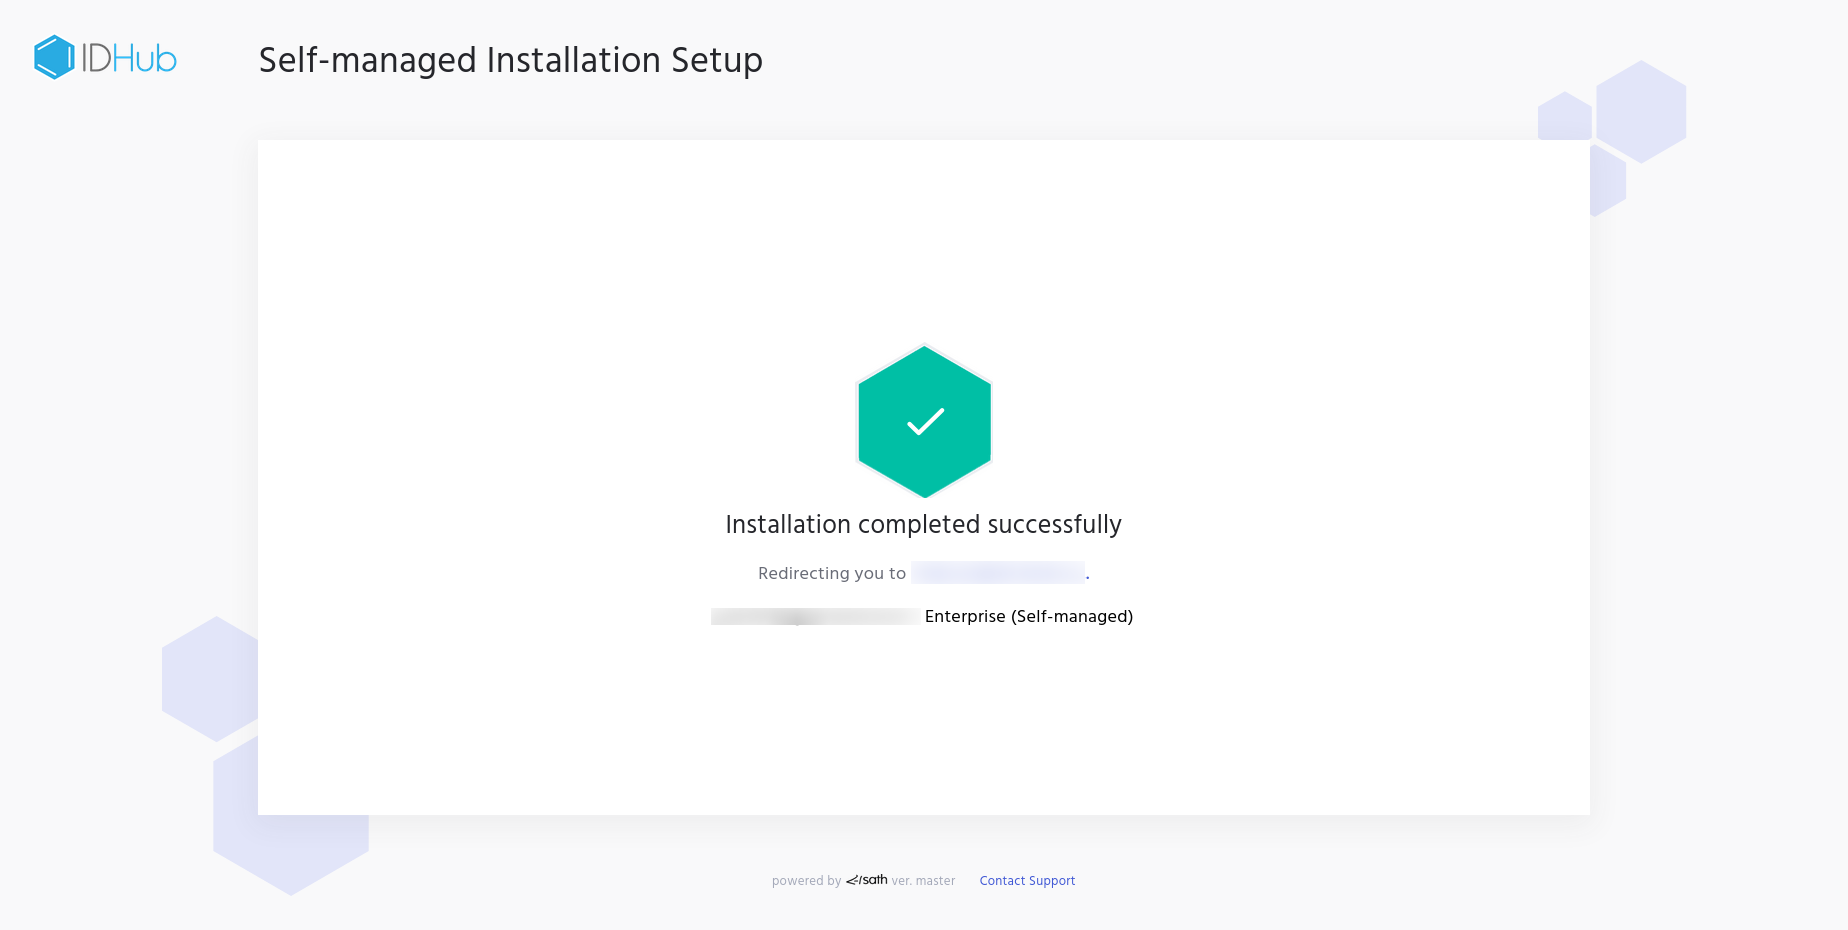
 After the tenant is created, you would be redirected to the IDHub tenant login page. You can then, enter the username and password (that you have entered in the register form) to log in to your IDHub tenant.
The Tenant Management Portal shows the list of all tenants that have been created by you (see screenshot below).
 Under actions, you can click on the
 Login button, which will redirect you to the Login URL for that specific tenant.